Match the pattern family to its structural demand
The following groups are a practical reading framework for this site, not a claim that makers everywhere use one official taxonomy.
Connected silhouette
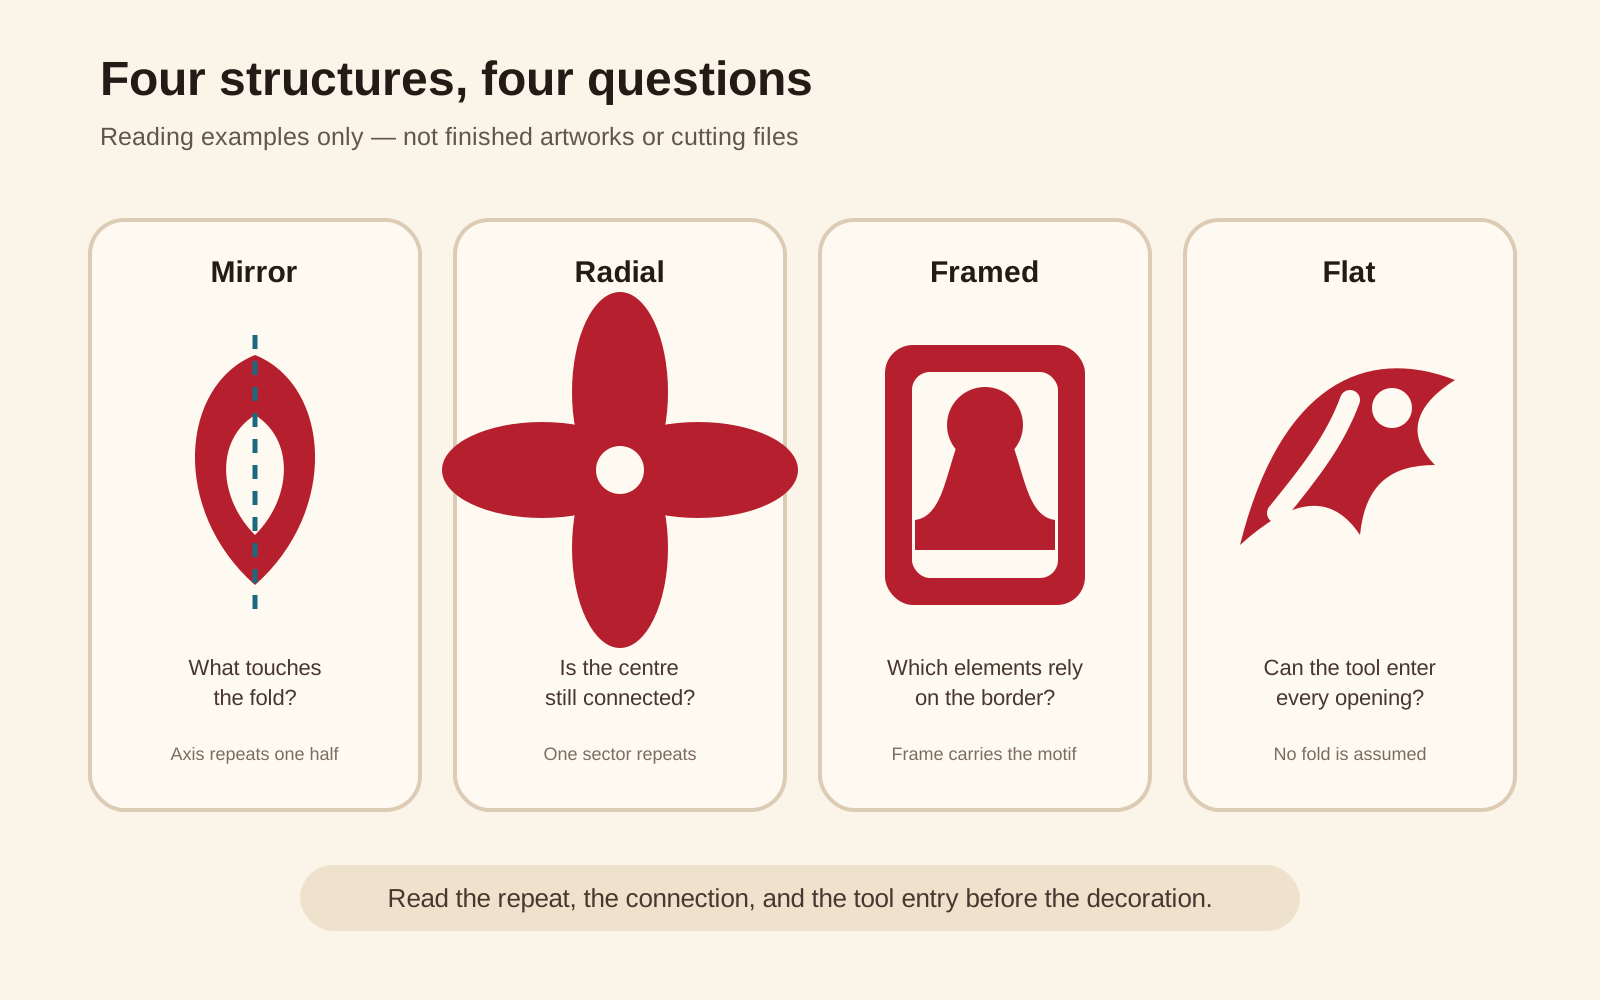
The subject is recognised mainly by its outer contour, with few or no enclosed openings. This is often easier to inspect because the load-bearing path is visible. Difficulty rises when the silhouette includes thin legs, antennae, pointed leaves, or long unsupported projections.
Mirrored fold pattern
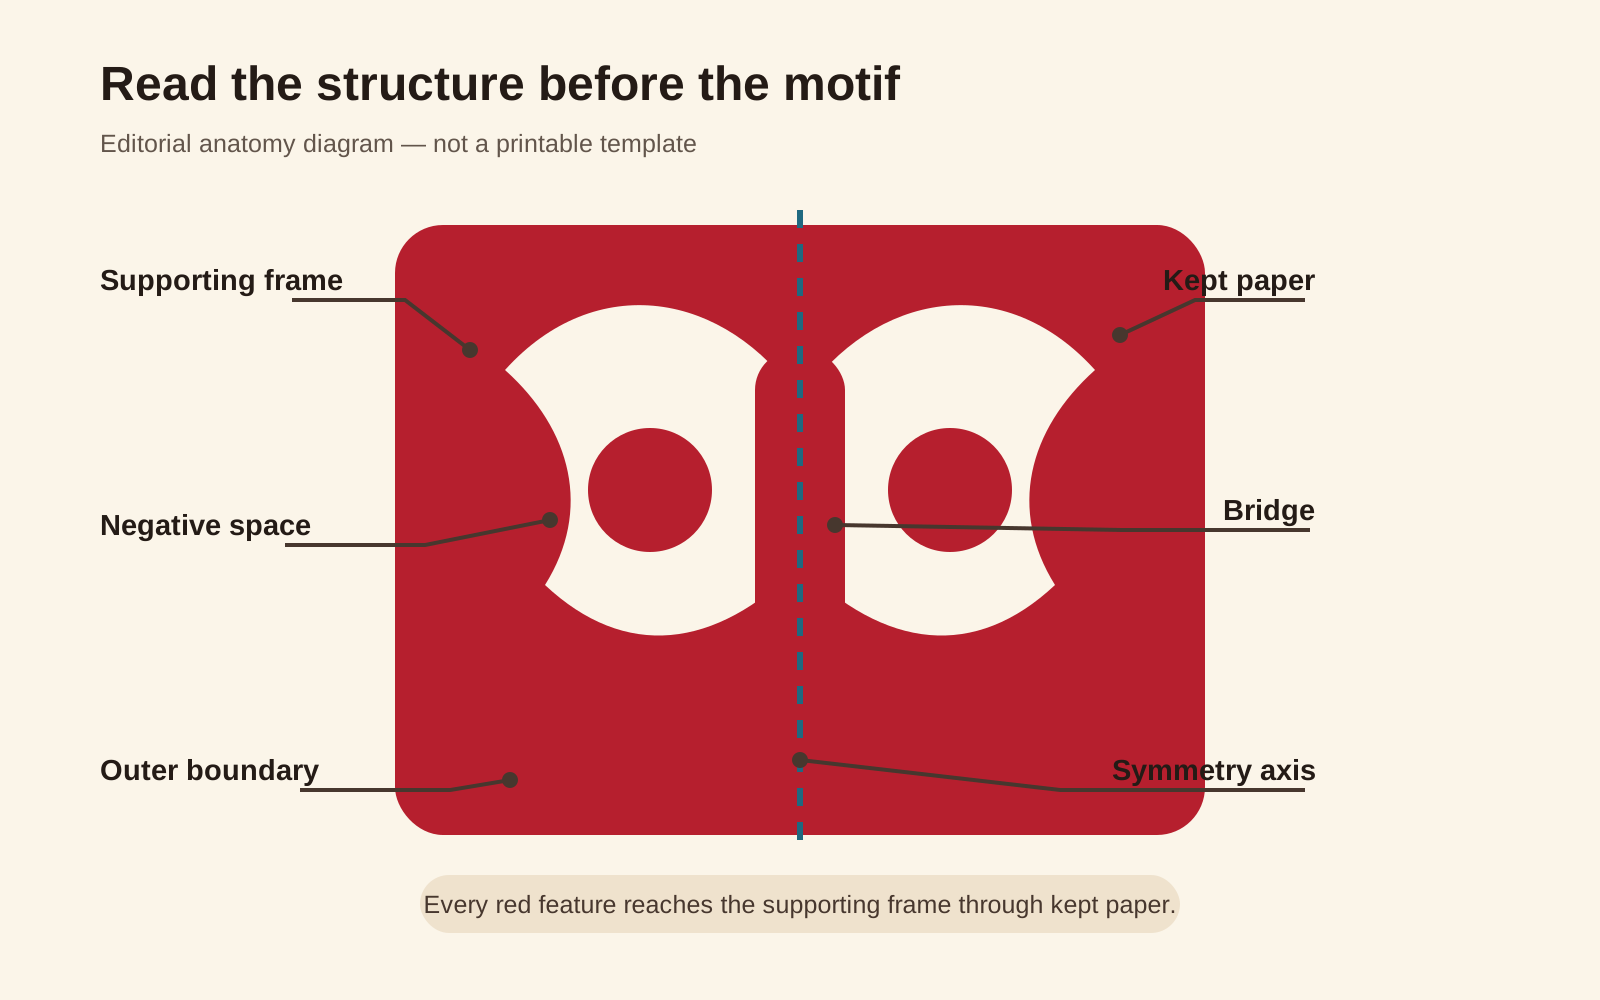
The fold supplies the main connection and repeats the drawn half. Look for features that touch the fold intentionally. A shape floating just beside the fold will become two separate openings; a cut that removes too much of the fold can split the design.
Radial repeat
A sector repeats around a centre to form a flower, rosette, or other circular arrangement. Check the centre reserve, the connection between neighbouring sectors, and whether the folded stack is realistic for the intended paper and tool.
Framed or medallion pattern
A border supports internal motifs and gives small bridges a destination. Read the frame as part of the engineering. If an internal leaf or stroke meets the border at only one fine point, widen or duplicate that connection before cutting.
Character-and-image composition
A Chinese character can be integrated with flowers, animals, or a frame, but recognisability depends on preserving essential strokes and their relationships. The double happiness paper-cutting guide applies those checks to 囍, including retained strokes, bridges, and readable waste areas. Do not “repair” an unfamiliar character by guessing. Compare it with a reliable reference, then adapt gaps and bridges without inventing strokes. Character meaning and ceremonial use need their own evidence; they should not be inferred from shape alone.
Recent design research also treats pattern as one element within a larger paper-cutting design space that includes subject, function, style, and method of expression. That is a useful reminder: a visually attractive repeat is not automatically appropriate to every cultural context.
Estimate difficulty from six drawing clues
Do not rely on the number of decorative details alone. A busy pattern with broad connections can be more manageable than a simple-looking outline with one extremely thin bridge.
1. Entry route
Can the tool reach each waste area from an edge or fold? An enclosed opening on a flat sheet changes the required setup. This question separates pattern reading from tool choice; compare scissors and knife contexts in the tools and books guide if needed.
2. Smallest bridge
Find the narrowest connection at the size you will actually cut. Zooming into a digital file can hide how fine that strip becomes on paper. If the bridge is difficult to see at print size, simplify it before adding more detail.
3. Tightest turn
Sharp internal corners and tiny reverse curves demand more control than broad arcs. A corner that cannot be approached cleanly may need a shallower angle or a larger opening.
4. Number of enclosed openings
Each opening adds an entry, a turn, and another chance to cut the surrounding bridge. Count them before starting. Repeated tiny openings are not “free” merely because they look alike.
5. Folded layer count
Each fold increases the thickness being cut and multiplies one cut across the opened piece. A pattern that is clear on one layer may become impractical in a thick stack. Test the actual paper-and-layer combination on a scrap instead of treating a layer count as universal.
6. Directional accuracy
Characters, faces, and directional animals are less tolerant of reversal or misplaced gaps than an abstract rosette. Mark the intended front, fold, and waste areas before cutting.