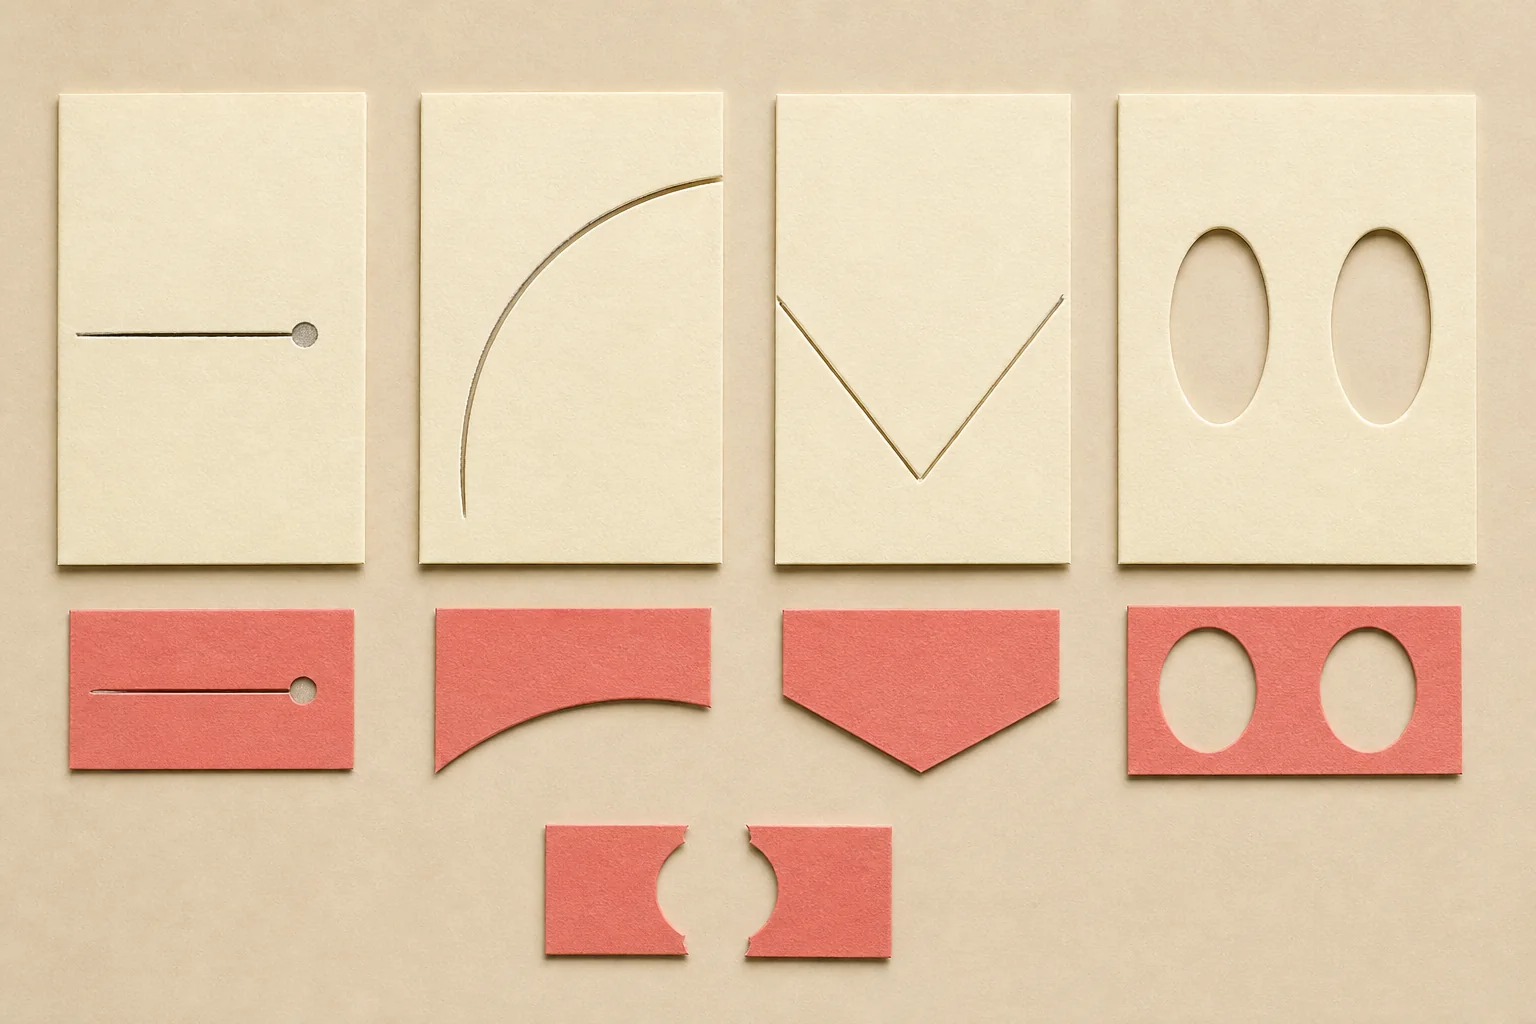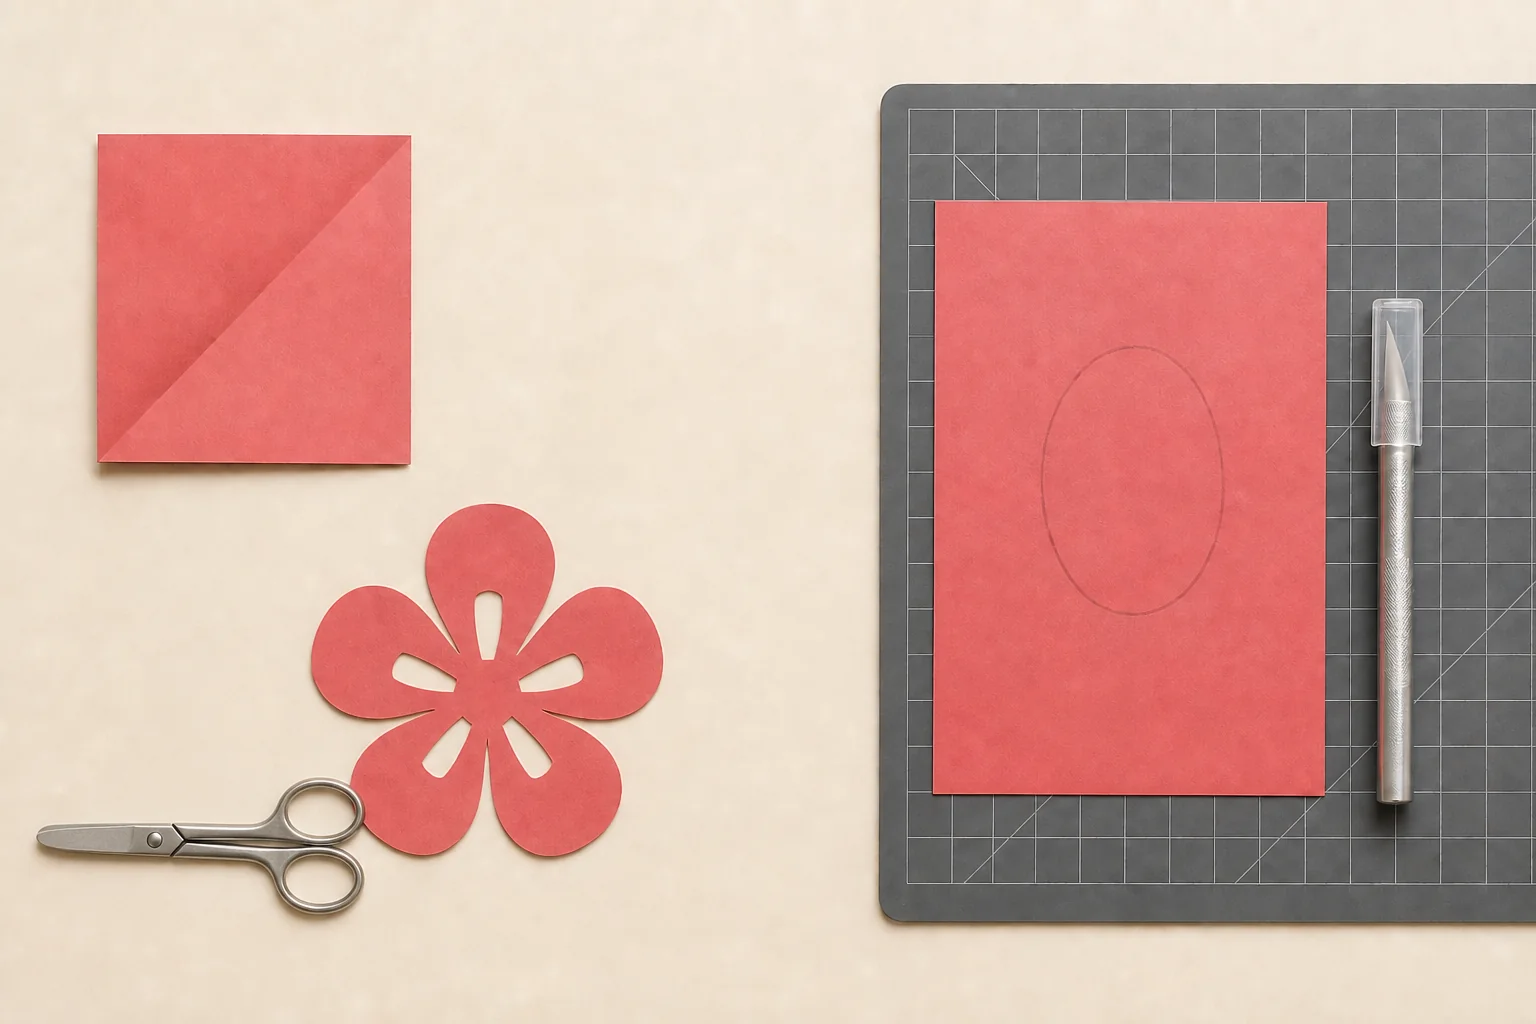
You do not need every tool, every paper weight, or every template style to begin. Your first useful decision is whether the design repeats from a fold or sits open on a flat sheet.
This page helps you choose that route, practise four cuts on scrap paper, recognise when a template will help, and pick the next guide without turning the first project into a fragile showpiece. For the cultural background of the craft, read the Chinese paper-cutting overview.
Pick the route that matches the design
Choose scissors for a folded first project
Folding repeats each cut. That makes a broad flower, butterfly, or simple window pattern a useful introduction to symmetry without asking you to draw every repeated shape. Start with a small number of layers and a design made from wide, connected areas.
Small paper scissors are enough. Your holding hand should stay outside the blade path, and it is usually easier to turn the paper through a curve than to force your wrist around it. If a child is taking part, an adult should select age-appropriate scissors and supervise the activity.
Keep the knife route for flat, enclosed details
A knife can enter an opening that scissors cannot reach without cutting through the surrounding paper. It also introduces a sharper tool, a cutting mat, blade disposal, and a different hand position. Beginners do not need this route to learn the basic logic of kept paper and removed paper.
If you are an adult or an experienced maker choosing this route, compare the setup in the paper-cutting tools guide before making a cut. Do not hold a flat design in the air while using a knife.
Start with the smallest useful setup
For the scissors route, prepare one sheet of smooth lightweight paper, small scissors that cut cleanly to the tip, a pencil for marking waste areas, a clear table, and a separate place for scraps.
A sheet around 70–100 gsm can be a practical place to begin, but that range is an editorial starting point rather than a universal rule. Fold a scrap and test it first. If the blades crush the layers or your hand has to squeeze hard, reduce the number of layers or try a lighter sheet. The paper selection guide explains why weight is only one part of the decision.
Red is common in Chinese paper-cutting contexts, but it is not required for a practice sheet. A pale or recycled sheet can make pencil marks and accidental cuts easier to see while you learn.