Select the symmetry
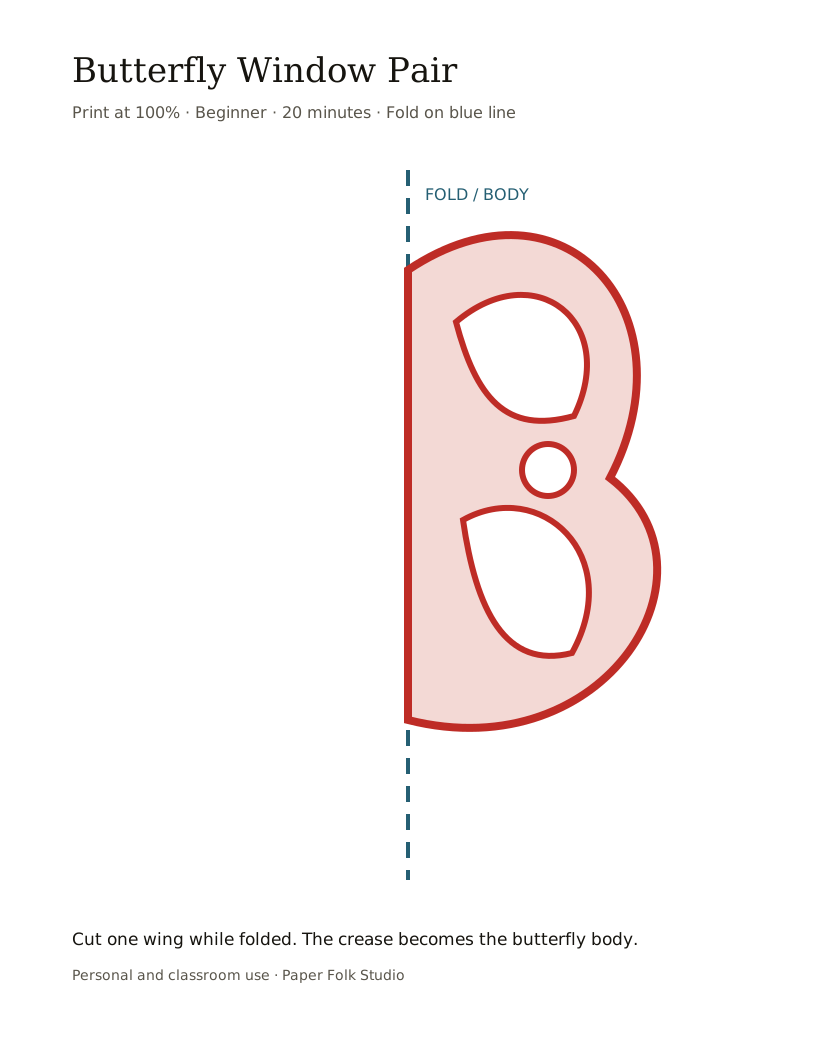
One fold creates a mirrored design. A second fold repeats every opening four times and requires simpler shapes.
Complete beginner method
Begin with a verified template, align its fold mark with the paper crease, and remove only the marked waste areas. The goal is a connected design, not the greatest number of small cuts.
Before tracing
One fold creates a mirrored design. A second fold repeats every opening four times and requires simpler shapes.
Shade the areas to remove so the kept paper and its bridges remain easy to follow.
Use scissors for open folded shapes. Reserve a craft knife and cutting mat for enclosed details on flat paper.
Quality check
Follow the kept paper from the center to the outside. If the path stops, a bridge may be missing.
A shape that is almost cut can tear when the paper opens. Recut the line instead of pulling.
Press the opened design between clean sheets under a book before choosing any stronger method.
Transfer, cut, check
Work from supported interior shapes toward the outer edge, pausing before any cut that touches a fold or narrow bridge.
Use one fold for mirror symmetry or two folds for a four-part design.
Align the marked fold line with the paper crease and trace only the cut areas.
Cut enclosed details before trimming the outer silhouette.
Pause before the final cut and confirm a connected red path remains.
Open slowly and press under clean paper before display.
Asked at the craft table
Draw on the back when the paper has a preferred display side, or place a printed guide over the folded sheet and cut through both layers.
Usually no. Keeping the outer paper intact supports small interior cuts and makes the folded piece easier to control.
It should remain visibly wider than the narrowest cut your tool can make cleanly and should connect to another kept area.
Keep exploring