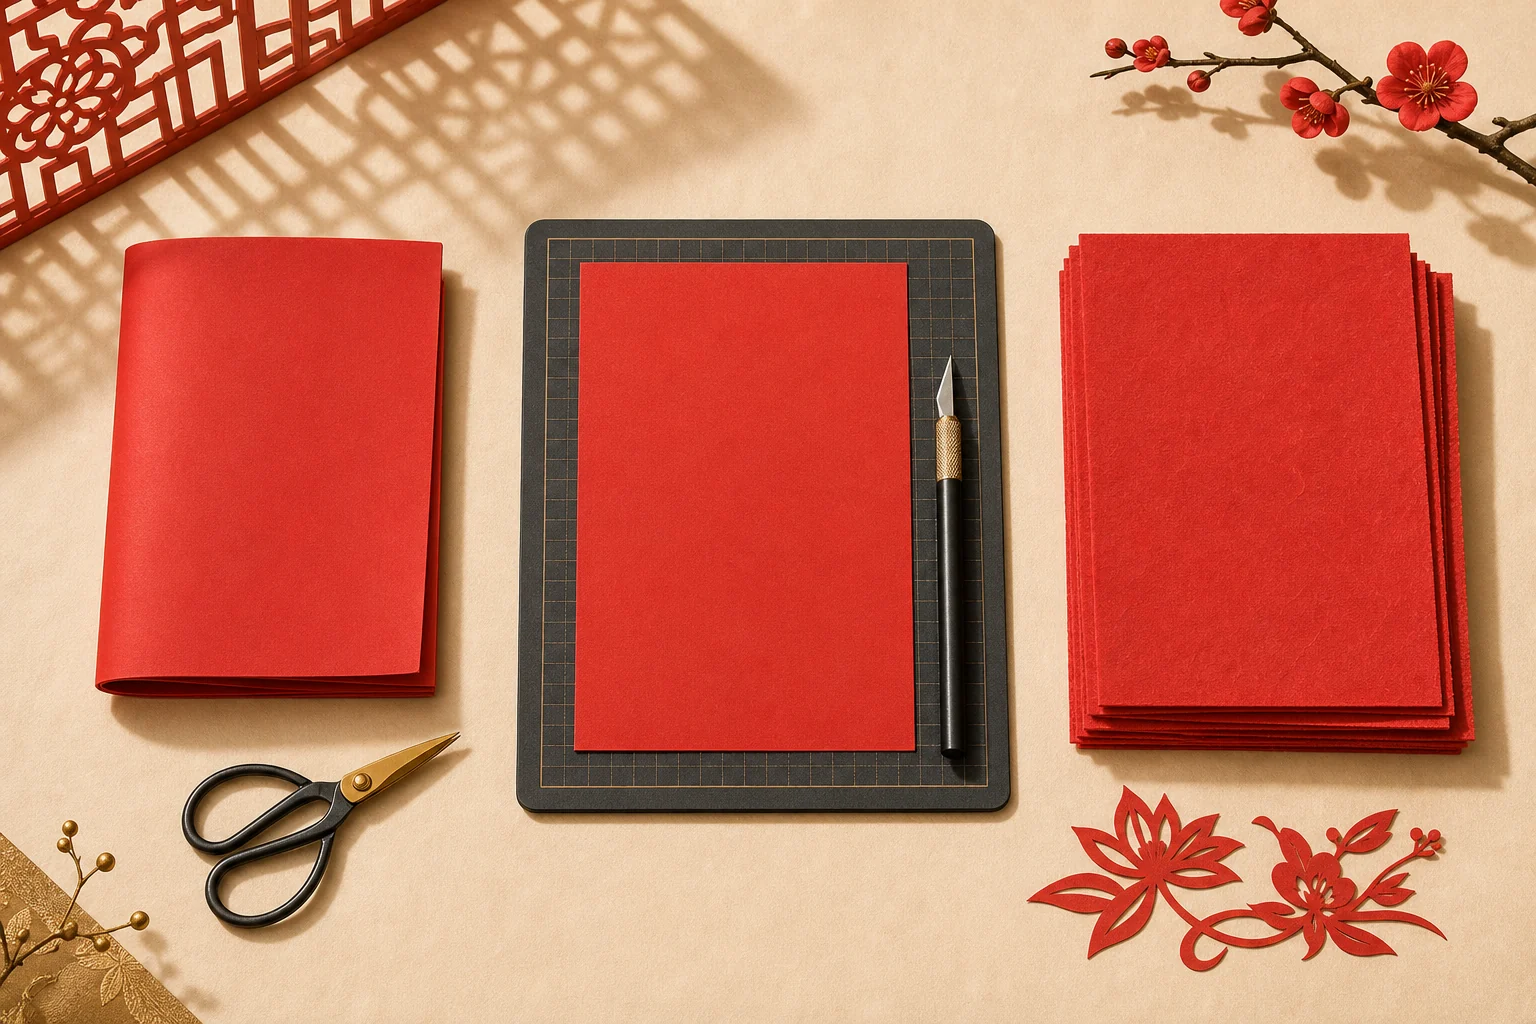
The best paper for paper cutting is not always the most expensive sheet. It is the paper that suits the way you plan to cut.
For a first folded scissor project, start with smooth, uncoated paper around 70–100 gsm. It is usually light enough to fold and turn in the hand, yet substantial enough to hold a simple connected design. This range is a practical starting point, not an official rule. A dense 80 gsm sheet can behave differently from a soft or loosely made sheet with the same label.
If you are cutting a flat design with a craft knife, try a slightly firmer sheet and make a small test cut before committing to the full pattern. Intricate folds, classroom work, layered pictures, and display pieces place different demands on paper, so no single weight is best for every project.
Choose the paper by the way you will cut it
Use the table as a starting point, then test the actual sheet. The suggested weights are editorial working ranges, not manufacturing standards.
| Project | Practical starting point | What to look for |
|---|---|---|
| Folded scissor cutting | 70–100 gsm | Smooth, uncoated paper that creases cleanly and opens without splitting |
| Simple classroom cutting | 70–90 gsm | Easy scissor control, low-cost sheets, and a design with broad bridges |
| Flat knife-cut design | About 100–140 gsm | A firmer sheet that stays flat on the cutting mat without demanding heavy pressure |
| Layered paper artwork | About 120–160 gsm | Enough body to keep separate layers from sagging |
| Practice cuts | Ordinary copy or colored paper | Readily available paper that lets you test the pattern before using a special sheet |
The ranges overlap on purpose. Paper weight is only one part of the decision. Fiber, density, grain, coating, humidity, the number of folds, and the size of the narrowest bridge all affect the cut.
For a pattern folded several times, reduce either the paper weight or the design complexity. A sheet that feels easy to cut when flat may become difficult after four or six layers are stacked together.
What GSM tells you, and what it does not
GSM means grams per square metre. It measures weight by area, so it gives a more consistent basis for comparing papers than pound labels, which can refer to different basic sheet sizes. Utah Valley University’s paper primer explains why two papers with the same pound number may not have the same physical weight or feel.
GSM does not tell you:
- how thick the sheet feels;
- whether the fibers are tightly or loosely formed;
- how easily the surface scuffs;
- whether the color runs through the sheet;
- how the paper behaves across or along its grain.
This is why buying by GSM alone can be disappointing. Two 90 gsm sheets can cut differently even when their package labels look nearly identical.
Fold, fiber, and grain matter at the cutting line
Paper is a network of cellulose fibers. Cornell University Library’s preservation tutorial notes that machine-made paper tends to align fibers in one direction. This produces a grain that can affect how the sheet folds and tears.
The University of Utah’s Opening Artists’ Books glossary describes grain direction as the predominant alignment of fibers and notes that folding and tearing are easier along the grain.
For paper cutting, grain is most noticeable when you make a strong fold or work with a narrow bridge:
- Bend the sheet gently in one direction, then the other.
- The direction with less resistance is usually parallel to the grain.
- Make one sample fold in each direction.
- Choose the orientation that gives the cleaner crease without cracking or buckling.
Do not overstate what the test can reveal. It is a practical studio check, not a laboratory identification of the paper’s fiber content.
Surface and color can change the finished cut
Smooth, uncoated paper is a forgiving first choice. A heavily textured sheet can interrupt a fine printed line, while a glossy or coated surface may show scratches and reflections. Those qualities are not defects, but they can distract from a small hand-cut pattern.
Color also needs a closer look. Some colored papers are white inside or colored on only one face. This may leave pale edges when the cut is folded, curled, or viewed from an angle. Paper dyed through the sheet gives a more consistent edge color.
The Robert C. Williams Museum of Papermaking documents both one-sided red cuttings and multicolored works dyed through to both sides in its Chinese paper cuttings collection . That does not make one type automatically better. A one-sided sheet can suit a flat window decoration, while a through-colored sheet is useful when both faces or the cut edges remain visible.
Red is traditional, but it is not a paper specification
Red paper is strongly associated with Chinese paper cutting, especially festive and ceremonial work. The Smithsonian’s National Museum of Asian Art explains that red is connected with festivities and happiness, while also noting that artists use other colors. The museum’s paper-cutting overview also identifies scissors and engraving knives as the main cutting tools.
Historic and contemporary makers have not relied on one commercial paper grade. The Robert C. Williams Museum of Papermaking lists maobian paper, newsprint, xuan paper, and lianshi among papers used by folk artists in its Chinese paper cutting collection note .
Choose red when it serves the meaning or visual effect of the piece. Choose the paper itself by cut quality, fold behavior, edge color, and display conditions.
Match the sheet to the project
For folded flowers and symmetrical designs
Choose a lighter sheet that forms a crisp crease and remains manageable after folding. Keep the first design broad and connected. Fine lace-like details become harder to control when the scissors must pass through several layers.
Start with a scrap from the same pack. Fold it exactly as you will fold the final piece, then cut a curve, an inside corner, and a narrow bridge. If the layers slide or the crease begins to split, use fewer folds, simplify the pattern, or change the paper.
For flat knife cutting
A flat design benefits from a sheet that stays still on the mat. If the paper wrinkles around the blade, try a firmer sheet. If you need excessive pressure or the corners tear, return to a lighter sheet or replace the blade.
Keep knife cutting on a proper cutting mat. Cut away from your free hand, and reserve knife-based projects for adults or appropriately supervised older learners. For the rest of the setup, see the separate paper-cutting tools and books guide.
For classroom and family activities
Use affordable paper that is easy to replace. The design matters more than buying specialty stock. Broad shapes, short cutting sessions, and child-safe scissors are more useful than forcing a delicate pattern onto heavier paper.
An adult should choose the tools and supervise the activity. The beginner paper-cutting guide covers setup and first-project safety in more detail.
For layered display work
Layered work needs enough body to keep separate shapes from drooping, but added weight also makes close knife cuts harder. Test the smallest detail first. If you plan to frame the finished work, check how the paper responds to the adhesive or mounting method on an offcut.
This article does not make archival-longevity claims for craft paper. If permanence matters, ask the paper manufacturer or a qualified conservator for specifications about fiber, sizing, coatings, lightfastness, and acidity.
Run a four-cut test before using the full sheet
A small test is more useful than trusting a package description. Cut the following from a folded or flat offcut, using the same tool and number of layers as the final project:
- a straight line about 5 cm long;
- a tight inward corner;
- a small circle or curved opening;
- a narrow bridge matching the thinnest connection in the pattern.
Open or lift the sample and inspect it under ordinary room light.
- Clean edges and a sound bridge: keep the paper.
- Fuzzy edges: try a sharper tool, then compare another sheet.
- Cracked fold: reduce the weight, change the fold direction, or use fewer layers.
- Sliding layers: simplify the fold or use a less slick surface.
- Pale cut edges: decide whether one-sided color suits the final display.
This test does not rank paper brands. It checks whether one sheet works with one pattern, tool, and cutting method.
Print the template only after checking the printer
If you plan to print a pattern directly onto colored paper, read your printer manual first. Paper limits vary by model and by feed tray.
For example, one Canon manual classifies 64–90 gsm as plain or colored paper and 91–128 gsm as heavier paper, with different machine settings. Those numbers apply to that machine, not every home printer. Use them as an example of why the printer’s own supported-paper table matters.
Print a draft at 100% scale on ordinary paper before using the final sheet. Confirm that:
- the pattern fits inside the printable area;
- no narrow bridge has disappeared;
- the printed side will face the back if you do not want lines on the display face;
- the ink or toner is dry before folding and cutting.
You can find site-owned SVG files in the printable paper-cutting templates collection.
A sensible first purchase
For a beginner, a small mixed pack is more useful than a large stack of specialty paper. Begin with:
- smooth, uncoated colored paper around 70–100 gsm for folded scissor cuts;
- a few firmer sheets around 100–140 gsm for flat knife-cut trials;
- ordinary copy paper for pattern checks and practice.
Buy enough to repeat a failed cut, but not so much that you are locked into a paper before testing it. Once you know whether you prefer folded scissor work, flat knife cutting, or layered display pieces, you can choose a narrower range with more confidence.