Use a stable cutting surface
Place the printed guide and paper on a self-healing mat, secure the corners, and keep the holding hand outside the blade path.
Intermediate flat-sheet template
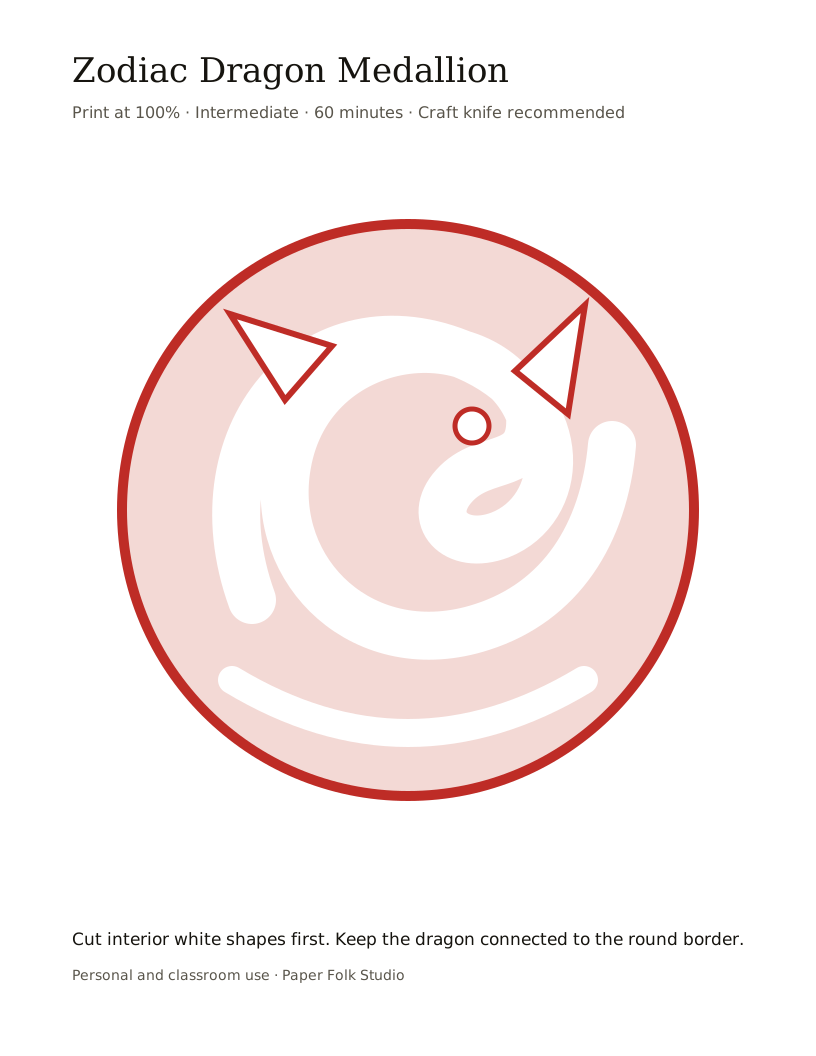
This dragon is a flat-sheet craft-knife project rather than a folded beginner cut. The body, feet, tail, and cloud border must remain connected while enclosed details are removed.
Knife and mat setup
Place the printed guide and paper on a self-healing mat, secure the corners, and keep the holding hand outside the blade path.
Check where the feet, tail, and body meet the cloud border before removing any surrounding paper.
Omit the smallest scale or horn openings if the paper begins to lift or the blade cannot turn cleanly.
Before lifting
Confirm each narrow point is fully released before lifting; pulling can tear it at the base.
A dull blade compresses fibers and encourages extra force. Stop and replace it according to the tool instructions.
Rotate the sheet to follow long curves while keeping the knife motion controlled and directed away from the holding hand.
Interior-to-edge order
Enclosed eye and scale openings come first. The long outside silhouette and cloud edge stay intact until the final passes.
Keep the dragon body thick and connect the feet, tail, and cloud border.
Use a craft knife on a mat for enclosed details, working from small shapes outward.
Rotate the paper to follow the outer curves without bending the horns.
Slide a clean sheet beneath the design and release delicate areas one at a time.
Asked at the craft table
Not in its detailed form. The enclosed eye and scale openings need a craft knife; a scissors-only version would need those details removed.
It provides connection points for the long body, feet, and tail so the silhouette remains one piece.
Stop lifting, return the piece to the mat, and finish the cut from the opposite direction rather than pulling the paper.
Keep exploring