Choose a readable profile
Use the head, back, tail, or another clear outline instead of relying on tiny facial details.
Zodiac motif planning guide
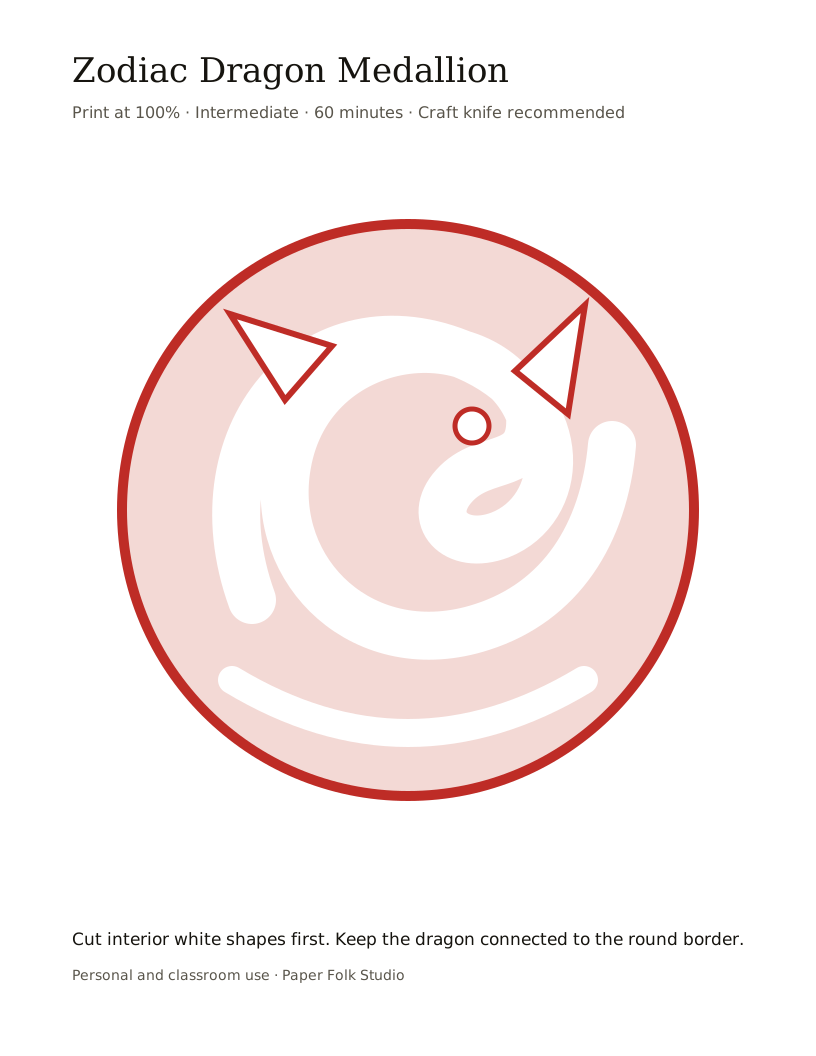
Choose one zodiac animal, simplify it into a readable silhouette, and connect the body to a circular frame. The downloadable example uses the dragon template; other animals need their own verified pattern before cutting.
Design the medallion
Use the head, back, tail, or another clear outline instead of relying on tiny facial details.
Join legs, horns, ears, or tails to the body or frame wherever an isolated shape would otherwise fall away.
A circular cloud or coin-style border gives the silhouette multiple attachment points and a clear display edge.
Resource boundary
The site provides a dragon SVG and an intermediate cutting guide with knife and mat safety.
A visual animal shape is not automatically a cuttable pattern; every kept area needs a verified connection.
Keep any animal description brief and avoid treating one simplified motif as a complete account of zodiac traditions.
Animal-to-medallion process
Plan the silhouette and its bridges before adding small openings. This page links directly to the existing dragon resource.
Use the existing dragon SVG rather than substituting unverified zodiac animal art.
Notice how the head, body, claws, and cloud border stay connected.
Clear eyes, claws, and cloud openings before releasing the outer medallion.
If you discuss other zodiac animals, make clear that their templates are not currently available.
Sources and further reading
Asked at the craft table
No. The current downloadable example is the dragon. Other animals should not be presented as available until their patterns are created and checked.
The border supports narrow parts of the animal and gives the finished cut a stable outside edge.
Open the Paper Cutting Dragon Template page for the existing SVG, cutting order, tool setup, and safety notes.
Keep exploring