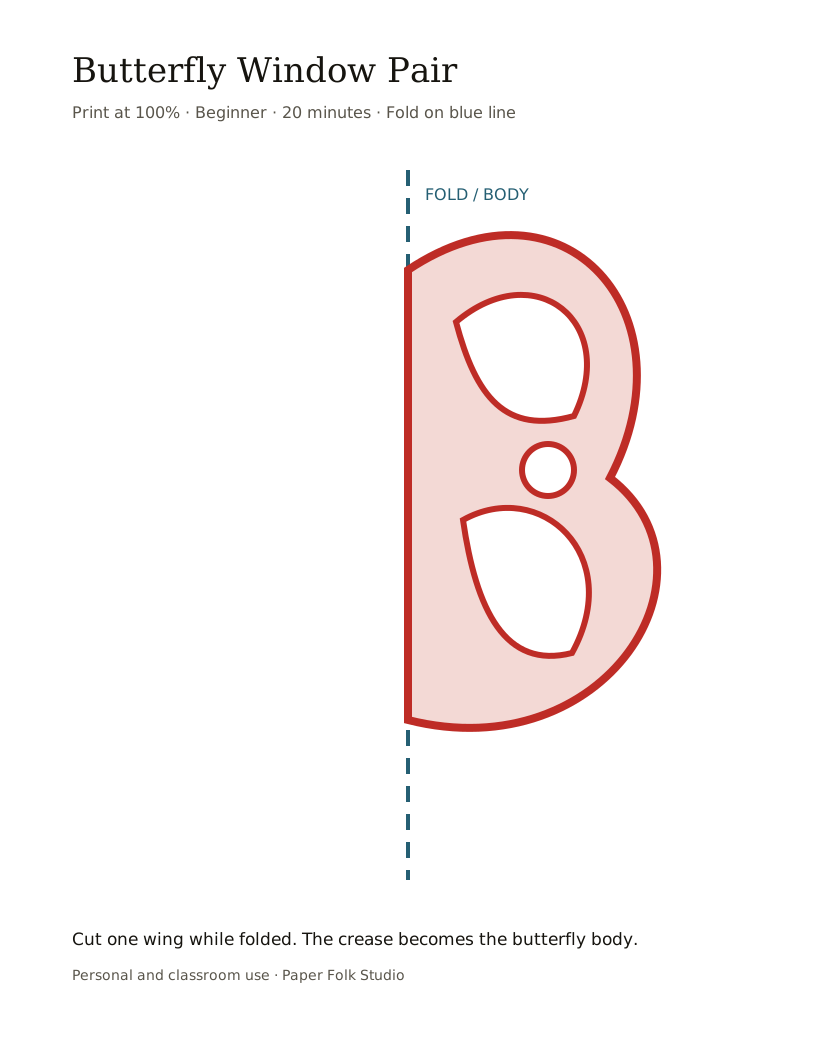
Keep the crease uncut
Treat the folded edge as the central body. Wing openings should approach it without cutting through it.
Mirror-fold butterfly resource
The fold becomes the butterfly body, so every wing cut is made on one side and repeated on the other. Keep a continuous band beside the crease from the head to the lower body.
Wing planning
Treat the folded edge as the central body. Wing openings should approach it without cutting through it.
Teardrops and rounded openings are easier to turn than narrow hooks and leave stronger bands between cuts.
Place at least one opening in the upper and lower wing while keeping an uncut path back to the body.
Finishing choices
Press the butterfly flat and attach it at the strongest body and wing bridges.
Fold only along the body crease and lift the wings slightly without bending the cut edges.
Remove the smallest interior markings and keep the outside wing curves broad.
Mirror-fold sequence
Complete the inside wing markings before trimming the outside silhouette, where the paper has less support.
Fold the paper in half; the crease becomes the butterfly body.
Trace the upper and lower wing on one side of the fold.
Cut teardrops and circles while leaving strong bands between them.
Unfold to reveal matching wings and gently curve them upward.
Asked at the craft table
The folded layers may have shifted. Sharpen the crease, secure the guide, and keep the paper aligned while turning it.
No. The fold forms the central connection between both wings. Cutting through it can divide the butterfly.
Skip tiny antenna gaps and narrow interior hooks. The broad wing silhouette and one or two openings are enough to show symmetry.
Keep exploring