Choose manageable paper
Start with a square that is large enough for the child to hold and turn without bringing fingers close to the cutting line.
Scissors-only classroom project
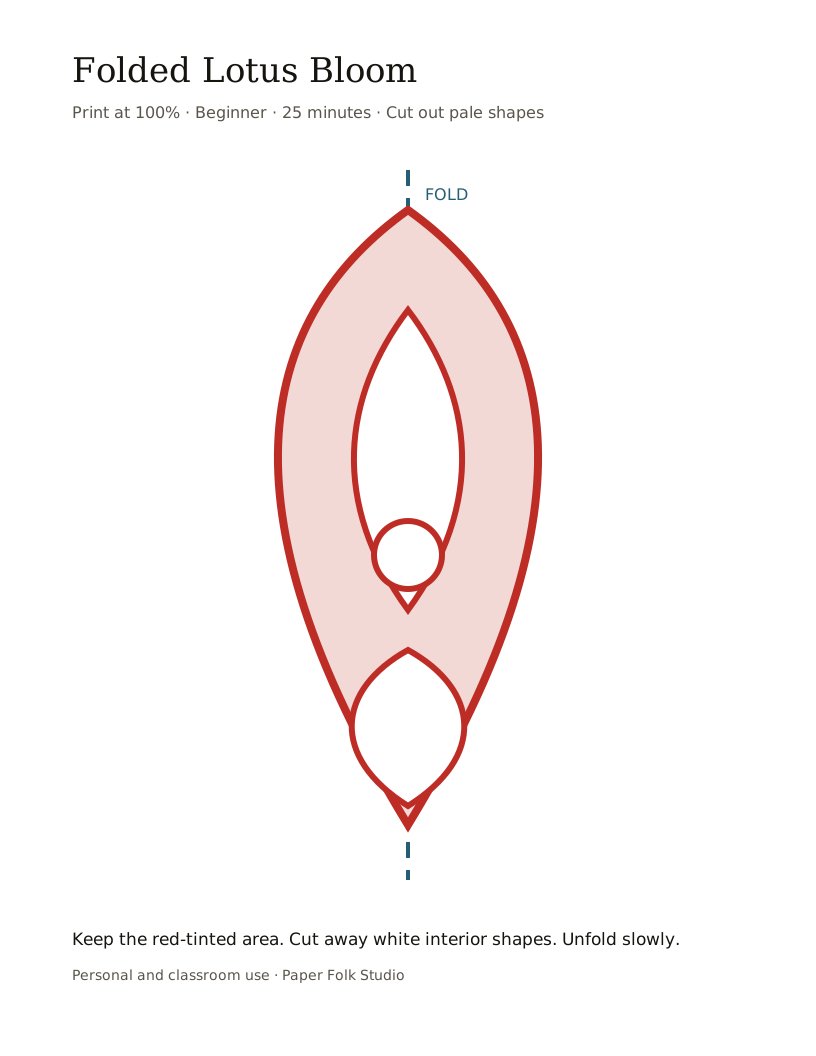
Use the existing lotus SVG as a supervised classroom flower activity. An adult should prepare the workspace, stay beside younger makers, and handle any cut that feels difficult.
Classroom setup
Start with a square that is large enough for the child to hold and turn without bringing fingers close to the cutting line.
Use the broad lotus petal shapes and avoid adding extra cuts that are not on the verified SVG.
Show the maker how to keep the scissors facing away while the other hand rotates the folded paper.
Learning through the reveal
After opening the paper, count how the petal shapes repeat around the center.
Point out the uncut bands that hold the center and petals together.
A short successful project is safer than asking a young maker to force scissors through thick folds.
Four simple actions
The activity focuses on folding, safe scissor control, and noticing how the lotus petals repeat after the paper opens.
Fold the paper into quarters so the lotus petals repeat from the center.
Use the printable lotus guide and keep the center point connected.
Keep the scissors pointed away and rotate the paper with the other hand.
Unfold gently, name the repeated petals, and mount the verified lotus sample on white card.
Asked at the craft table
Clear the table, choose child-safe scissors, cut the paper to size, and demonstrate one slow turn before the child begins.
Stop rather than forcing them. Use thinner paper, make one fewer fold, or let an adult complete that cut.
No. The kids activity uses the broad lotus sample and can be made with scissors.
Keep exploring