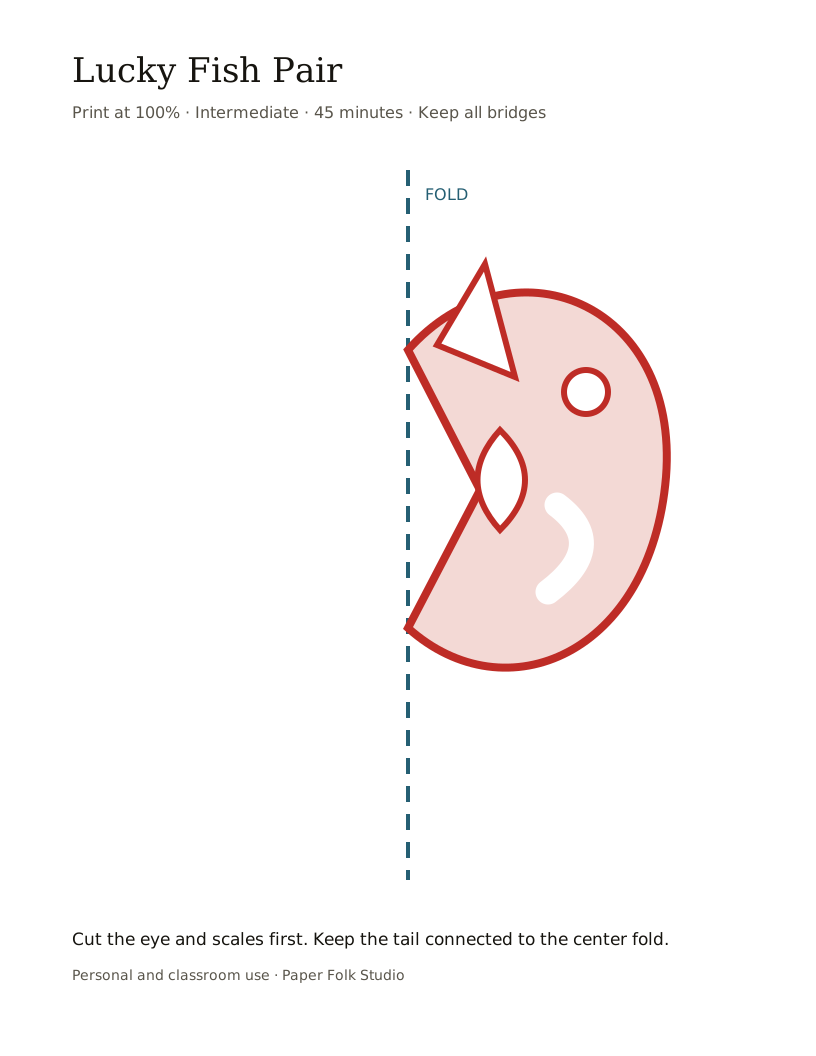
Anchor the tail
Leave a visible band between each tail and the surrounding wave or frame so the outer silhouette stays attached.
Paired-fish fold template
A single fold mirrors the fish around a central axis. The main challenge is keeping fins, tails, and the water-wave border connected while the scale openings remain easy to read.
Connection map
Leave a visible band between each tail and the surrounding wave or frame so the outer silhouette stays attached.
Use fewer, wider scale openings near folds and narrow fins, where closely packed cuts can weaken the paper.
Cut the eye openings before the outside edge while the folded sheet still gives the head area support.
Display check
Release the central fold first and support each fin with a fingertip as the layers separate.
Use a flat weight so the tails and wave border settle without direct rubbing.
Place removable adhesive only at the body or border connections, not on narrow fin tips.
Paired motif sequence
Work from the eye and scale openings toward the fins, then finish the wave border before opening the pair.
Fold once to create two fish facing one another around a central axis.
Clear the smallest openings while the outline is still fully supported.
Leave a narrow connection between the tail, lower fin, and wave border.
Open, flatten, and display the paired fish with heads slightly raised.
Sources and further reading
Asked at the craft table
The connection between the fin, tail, or wave was cut too narrowly. Widen that bridge on the next print.
No. Fewer broad openings preserve the silhouette and are easier to read than many fragile slits.
Yes. Use the unfolded half as a flat silhouette, then adjust the border so every kept area still connects.
Keep exploring